A solar site survey either saves you from an expensive mistake three weeks into the install, or it doesn’t happen at all — and you find out the hard way. Anyone who’s spent a few seasons doing rooftop assessments in Dhaka, Chattogram, or out in the char areas of Rangpur knows this isn’t a throwaway step. It’s the difference between a system that performs the way you promised the client and one that gets a callback in July when the monsoon shows you every weak point in the roof.
This is the checklist we actually use — not a rebranded version of the same six vague categories you’ll find on most sites. It’s built around how a real site visit unfolds in Bangladesh, with the electrical quirks, roof types, and regulatory steps specific to this market.
What a Solar Site Survey Actually Is
A solar site survey is the on-site (and pre-site) inspection process used to confirm whether a property can support a solar installation — checking the roof’s structure, the building’s electrical setup, shading, and site access — before any design or quote gets finalized. It’s the step that turns a rough estimate into a system that will actually work once it’s mounted.
Skip it or rush it, and you’re designing blind. That’s where undersized inverters, shading losses nobody caught, and post-install disputes come from.
What You Need Before You Even Leave the Office
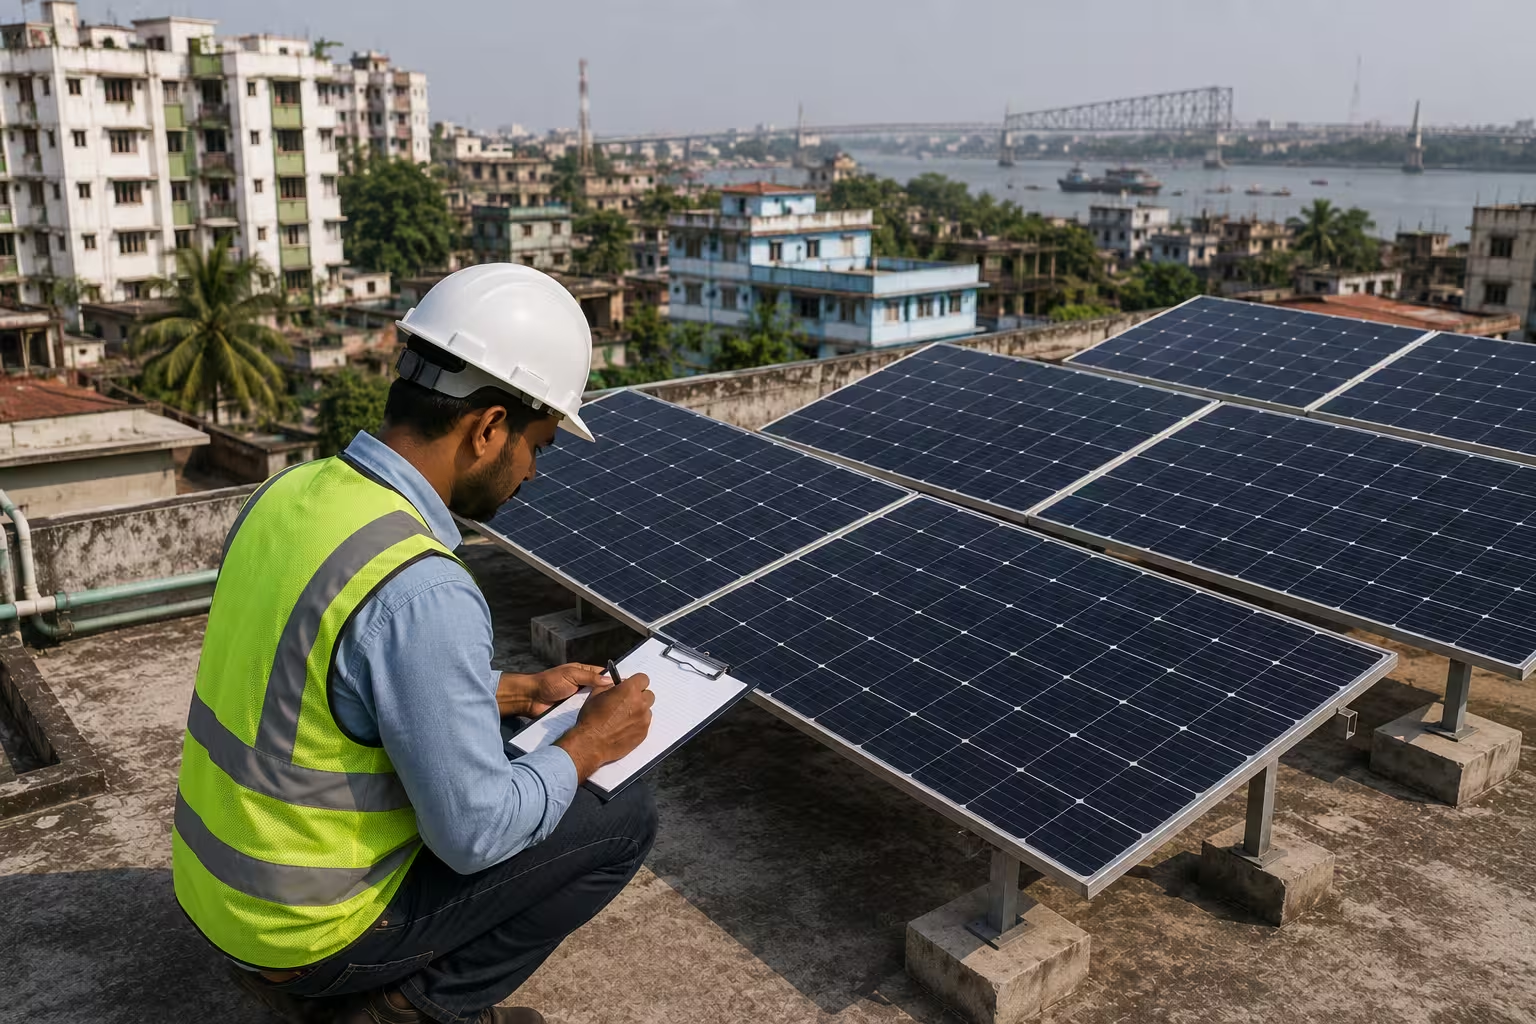
A good chunk of the survey should happen before you’re standing on the roof. Pull up satellite imagery of the property — Google Earth is fine for a rough read — and check orientation, obvious shading sources like neighboring buildings or tall trees, and roof shape. In dense urban pockets of Dhaka or Narayanganj, this pre-check alone can rule out a site before you waste a trip on a roof surrounded by five-story buildings on every side.
For the physical visit, bring:
- Tape measure (a laser distance measure saves a lot of time on larger commercial roofs)
- A shading tool or app — Solar Pathfinder and Solmetric SunEye are common in the field, though most techs now just use apps like Aurora Solar or OpenSolar on a tablet
- A basic multimeter for checking existing electrical readings
- A camera or tablet with a survey app installed, so photos and measurements land in one file instead of scattered across your phone gallery
- A compass or compass app, since roof orientation relative to true south (or, more precisely, relative to the sun’s actual path — see solar angles for why magnetic north isn’t quite the same thing) matters more than people assume
The Checklist, Step by Step
Customer and Site Information
Start with the basics, but don’t skip the accessibility details. Note the property address, the decision-maker’s name and contact info, and — this matters more in Bangladesh than in a lot of markets — how the installation crew and materials will actually reach the roof. Narrow lanes in old Dhaka neighborhoods, apartment buildings without a service lift, or rural properties with seasonal flooding access can all change your logistics plan and, honestly, your quote.
Roof Assessment
This is where most quick surveys fall short. “Check the roof” isn’t a checklist item — it’s a category. Here’s what actually needs recording:
- Roof material and age. Tin roofs (CI sheet) are extremely common on residential buildings outside major cities and behave very differently under panel mounts than RCC (reinforced concrete) rooftops, which dominate in Dhaka and Chattogram apartment buildings. Note fastener type, corrosion (a real issue given humidity and monsoon exposure), and whether the roof has been re-sheeted recently.
- Structural condition. For RCC roofs, check for visible cracking, water seepage marks, and existing waterproofing. For tin roofs, check rafter spacing and whether the structure can handle the additional dead load of racking and panels — this is a common point where residential tin-roof jobs get rejected or need reinforcement first.
- Dimensions and usable free space. Measure the full roof, then subtract water tanks, satellite dishes, parapet walls, and any shared-access areas — apartment rooftops in Dhaka often have less usable space than the raw square footage suggests once you account for shared utilities.
- Orientation and slope. South-facing is ideal at Bangladesh’s latitude, but east-west orientations still work reasonably well and are common on tin roofs with a fixed pitch that can’t be changed.
- Shading. Run your shading analysis at multiple times of day if possible — dense urban plots often get shaded differently in the morning versus the afternoon depending on which side the taller neighboring building sits on.
If the roof fails the check — cracked RCC, undersized tin rafters, too much unavoidable shading — don’t just walk away. Note whether reinforcement is feasible, or whether a ground-mount or elevated structure on part of the property is a better fit. This is the kind of contingency planning that separates a useful survey from a checkbox exercise.
Electrical Infrastructure
Bangladesh’s grid setup means this section needs a bit more care than a generic checklist gives it.
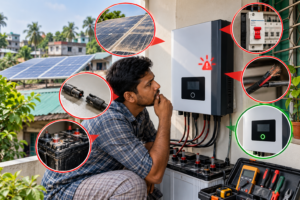
- Confirm the main AC connection point, whether the supply is single-phase or three-phase, and the fuse rating — three-phase is standard for most commercial connections and larger residential loads, and it directly affects inverter selection.
- Check the existing electrical panel’s capacity and condition. Older residential panels, especially in buildings more than 15–20 years old, sometimes need an upgrade before they can safely handle a solar connection.
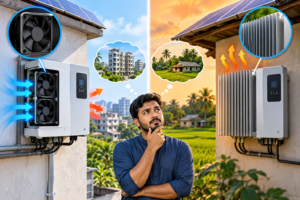
- Decide on inverter placement — shaded, ventilated, and away from direct monsoon rain exposure if it’s an outdoor-rated unit near the roof access.
- Note whether the property already has, or will need, a net metering connection through the local distribution utility (DESCO, DPDC, NESCO, WZPDCL, or BREB depending on the area) — this affects both the technical setup and the paperwork timeline, which realistically adds weeks to the project, not days.
- Check for remote monitoring feasibility — WiFi signal strength at the panel location, or whether a cellular/GSM monitoring module is a better fit for rural sites with unreliable broadband.
Energy Usage and System Sizing
Pull at least 12 months of electricity bills if the client has them — Bangladesh’s seasonal load swings between the dry season and the hot pre-monsoon months (when AC usage spikes) are significant enough that a 3-month sample will size the system wrong. Note peak demand hours, because a household running heavy AC load in the evening has very different sizing needs than a daytime-heavy commercial or industrial load.
From there, you’re estimating panel count, rough system size in kW, and whether the site suits an on-grid, off-grid, or hybrid setup. Off-grid and hybrid systems still see real demand outside the main grid coverage areas, and in places where load shedding remains a practical concern, a hybrid setup with battery backup is often the more honest recommendation even if it costs more upfront.
Regulatory, Permits, and Safety
Confirm local requirements with the relevant distribution utility and, where applicable, SREDA’s net metering guidelines — these vary slightly by utility area and do get updated, so don’t rely on last year’s numbers. Building codes and structural sign-off requirements are stricter for commercial and industrial rooftop systems than for a small residential setup, and larger systems typically need a structural engineer’s certification before the utility will approve interconnection.
On the safety side: note fall protection needs (tin roofs especially — they’re slick and the edges are often unguarded), safe access routes, and any hazards like exposed rebar, unstable water tank platforms, or informal wiring runs that weren’t part of the original building design.
Recording and Reporting Your Findings
Paper checklists still work fine for a solo operator doing a handful of surveys a month. Past that, they fall apart fast — details get lost, photos end up scattered across someone’s phone, and nothing’s standardized between techs. Most teams that scale past a couple of installers move to a mobile survey app that captures photos, measurements, and shading data in one file and spits out a report template automatically. It’s not a dramatic upgrade, but it does cut down on the “wait, which roof was this again?” problem.
Whatever method you use, the final report should summarize property details, structural findings, electrical assessment, shading results, and energy usage — with enough detail that someone who wasn’t on-site could still design the system from it.
Residential vs. Commercial Surveys: What’s Different
| Factor | Residential | Commercial |
| Roof type | Mostly tin (rural/suburban) or RCC (urban apartments) | Almost always RCC or metal industrial roofing |
| Electrical phase | Usually single-phase, sometimes three-phase | Almost always three-phase |
| Structural sign-off | Rarely required for small systems | Typically requires engineer certification |
| Survey duration | 1–2 hours | Half a day to a full day, depending on size |
| Net metering process | Simpler, faster utility approval | More documentation, longer approval timeline |
| Access considerations | Narrow lanes, shared rooftops in apartments | Loading access for larger equipment, safety protocols on-site |
Common Mistakes to Avoid
- Skipping the pre-survey desktop check. Wasting a trip on a site that was obviously unsuitable from satellite imagery alone is avoidable.
- Using only a 3-month energy bill sample. Bangladesh’s seasonal AC load swings mean this consistently undersizes the system.
- Ignoring roof age on tin structures. A rafter system that’s fine for the roof itself might not hold up under panel racking and wind load — especially relevant given how strong pre-monsoon winds get.
- Forgetting to check net metering eligibility with the correct utility. DESCO, DPDC, NESCO, and BREB don’t all move at the same pace, and assuming a blanket timeline causes client frustration later.
- Treating shading analysis as a single snapshot. One reading at midday misses how a neighboring building shades the roof in the morning or late afternoon.
- Not documenting existing roof warranties. Drilling into a roof still under a manufacturer’s warranty without checking first is an avoidable and expensive mistake.
If you want the broader context behind why orientation and roof angle matter so much at Bangladesh’s latitude, it’s worth reading up on peak sun hours and how solar radiation and insolation actually translate into real system output — it makes the sizing conversations with clients a lot easier to explain.
FAQs
How long does a solar site survey take in Bangladesh?
A typical residential survey takes 1–2 hours once you’re on-site. Commercial and industrial surveys usually take half a day to a full day, depending on roof size and the number of electrical connections involved.
What tools do I need for a solar site survey?
A tape measure or laser distance tool, a shading analysis tool or app, a basic multimeter, a compass, and a camera or tablet loaded with a survey app to keep everything organized in one file.
Who should perform the site survey — a sales rep or a technical engineer?
Ideally both, at different stages. A sales rep or junior tech can handle the preliminary and sales-stage survey, but any commercial system, or a residential system with structural concerns, should get a technical review from someone qualified to sign off on roof loading and electrical compatibility.
What happens after the site survey is complete?
The findings go into a survey report that feeds directly into system design — panel layout, inverter selection, and wiring plan — followed by the net metering application with the relevant distribution utility and any required permits.
Can a solar site survey be done remotely using satellite imagery?
Partially. Satellite and desktop tools are useful for a preliminary check — orientation, rough shading sources, roof shape — but they can’t replace a physical inspection for structural condition, real shading behavior at different times of day, or electrical panel assessment.
Do tin roofs work for solar panels in Bangladesh?
Yes, and they’re extremely common on residential and rural installations. The key check is rafter spacing and structural capacity, since tin roofs weren’t originally designed to carry the added weight and wind load of racking and panels — that’s exactly what the roof assessment step is meant to catch before installation begins.